Lego play mat bag

I made this Lego bag for my 2yo son to make it easier to tidy up.

The bag is 55cm in diameter. I used an old table cloth and fabric I had left over and some spare rope I found in the shed. So it didn’t cost a penny.

Here is the YouTube video I followed by TheMakery.

Kids cooking aprons

I thought it would be fun to make some kids cooking aprons for my friends.

IMG20200118151043

You will need a piece of fabric that’s 56cm long and 53cm wide and 2 metres of ribbon. Note: you can use a mismatch of pieces of ribbon.

  1. Cut your piece of fabric 56cm (22″) long and 53cm (21″) wide.
  2. Fold the piece of fabric in half lengthwise. Start at the top from the fold and measure over 4.5″ and mark the spot. Then measure down 7″ on the side opposite of the fold and mark a spot. Cut from the 4.5″ mark at the top to the 7″ mark on the side using a circular motion (you can draw the arc with chalk first if you like). Remember: you’ll be cutting through 2 layers of fabric here! That allows space for the arms.
  3. French seam the edges of  the apron by folding over about 1cm, iron, fold over another 1cm, iron again and then sew.
  4. Cut your pieces of ribbon. 55cm piece ribbon for the neck. and 2 x 70cm long piece ribbons for the ties. Use a match or cigarette lighter to singe the edges of the ribbon so that they don’t fray.
  5. Sew the ribbon ties to the corner of the arm hole. Then sew the neck tie to the top corners. I sewed a N shape to make sure it’s secure.

This is a simpler version of https://howdoesshe.com/adorable-diy-childs-apron/


Bea’s quilt

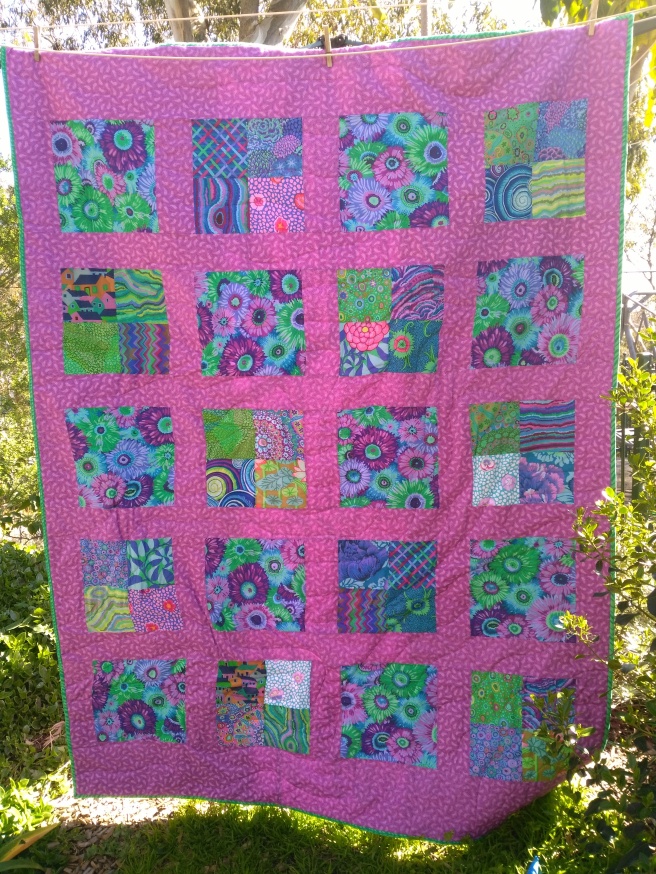
I wanted to make an extra special quilt for one of my longest friends for her 30th birthday. I was inspired to get back into sewing (since having bub) when I went to the quilting shop called Ruby and Kate in Port Lincoln. I fell in love with fabric by Kaffe Fassett.

For the quilt that is 67 x 51 inches big I used:

  • charm pack of Kaffe Fassett fabric. 40 squares 5 X 5 inches.
  • 1.2 metres of the flowery Kaffee Fassett fabric for the bigger squares. I cut 10 squares 9.75 x 9.75 inches.
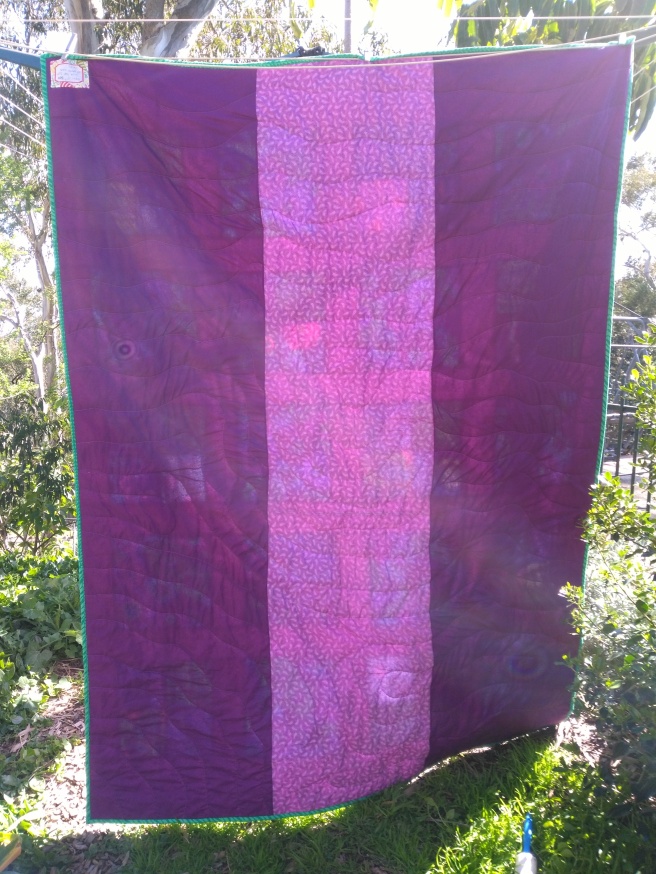
  • 2.2 metres of purple fabric for borders, and backing. for the borders I cut 25 rectangles 9.75 x 3.5 inches. 4 strips 51 x 3.5 inches and 2 strips 51 x 6.5 inches.
  • spare fabric to finish the backing and binding.

I decided to do a wavy pattern to quilt it together.

IMG_20180824_125446IMG_20180824_125739


Baby Ari’s quilt

To celebrate the arrival of Hayley and Ian’s baby I made this quilt.

IMG_20170430_153016

I used fabric from Zen Chic Moda Jelly Roll 1570 JR.  I decided to use white fabric to break up the herringbone design and really celebrate the different colours and designs in the jelly roll.

Tessa Marie Walker has the sewing chick blog with a great post about how to make herringbone quilts here .

The strips of fabric were 2.5 inches by 8.5 inches. I used 48 strips of white fabric. Each panel is made up of 4 strips. Each row has 3 zigs and 3 zags and there are 4 rows in total. The top and bottom of the quilt is finished off with white fabric. The final quilt size is 48 inches by 66 inches.

IMG_20170127_143221

Felt reindeer decoration

IMG_20180104_173421

I made this cute reindeer felt decoration ready for next year’s christmas. I used two embroidery threads for the stitching. The reindeer decoration is 8cm tall and 9cm wide.

Instructions:

  1. Print and cut out the Felt Reindeer Pattern. Use the pattern to cut out the felt pieces.
  2. Back stitch the red nose onto the head and add two french knots (wrap thread 4 times around the needle) for the eyes.
  3. Position the ears, antlers and string between the two pieces of the head. Start stitching from one ear to the other.
  4. Then add some stuffing and finish stitching around the head.
  5. Hang up on the christmas tree!

The Betty Quilt

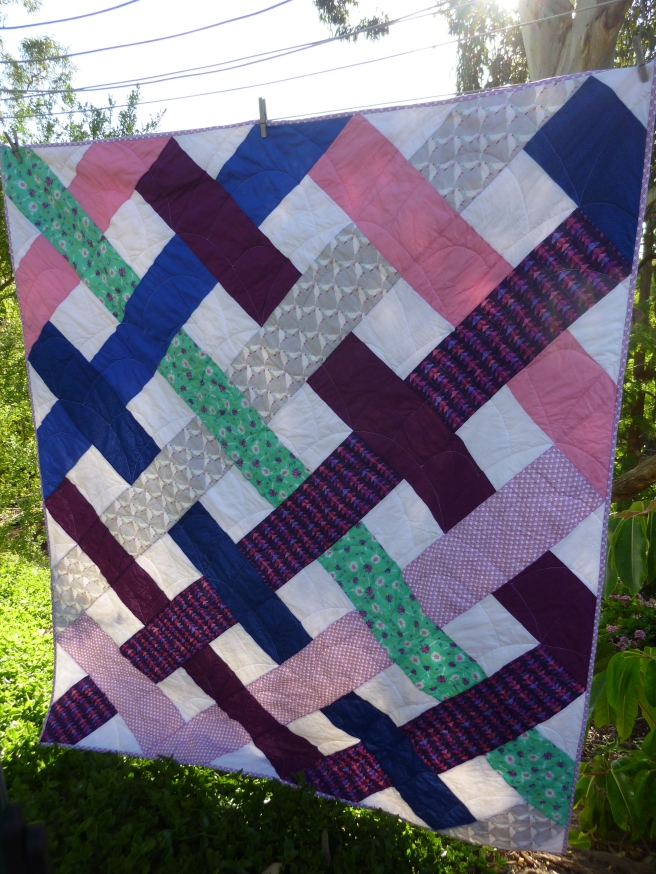
I made this quilt for my grandmas birthday. The pattern is from Kitchen Table Quilting and you can purchase the pattern here . I did use fewer fabrics than the pattern asked. I’m pretty happy with it event though it took me a lot longer to piece together than expected. To sew the quilt together I did a half circle design. Much easier to do this with a measuring tape and to chalk it out before sewing.

P1070787P1070790